Login to “ClouderaHadoopClusterManager” instance through PuTTY.

Turn off “iptables” entirely or check with your Network administrator for Firewall setting.
| $ service iptables status $ service iptables stop $ reboot |
Note : Repeat the above step for all the instances in the cluster.
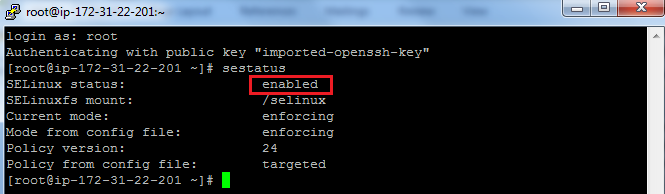
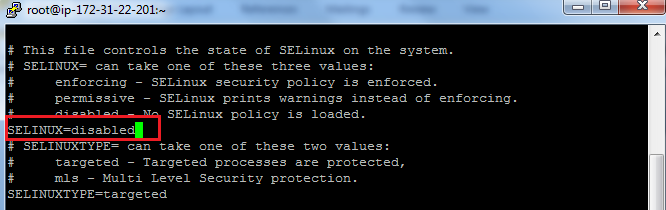
Disable “SELinux” before proceed with the installation
| $ sestatus $ vi /etc/selinux/config |
Download the Cloudera Manager installer:
| $ yum install wget $ wget http://archive.cloudera.com/cm4/installer/latest/cloudera-manager-installer.bin |
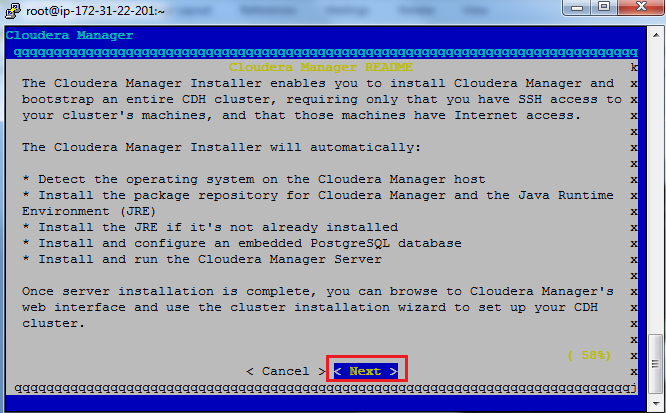
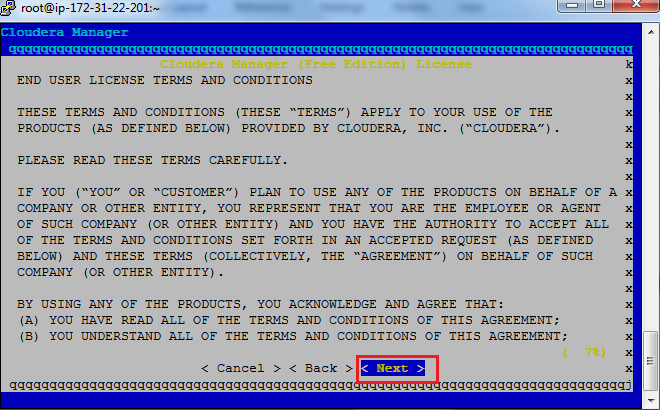
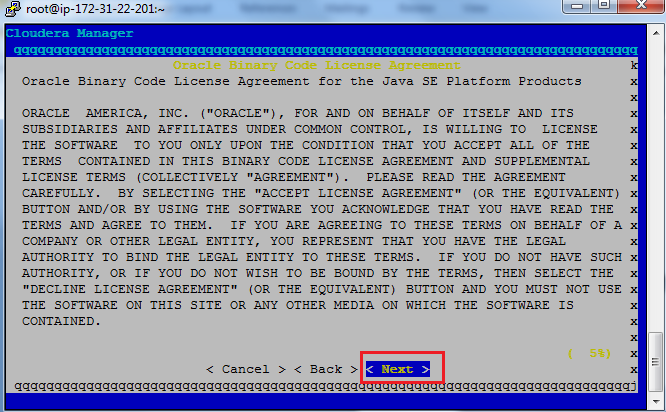
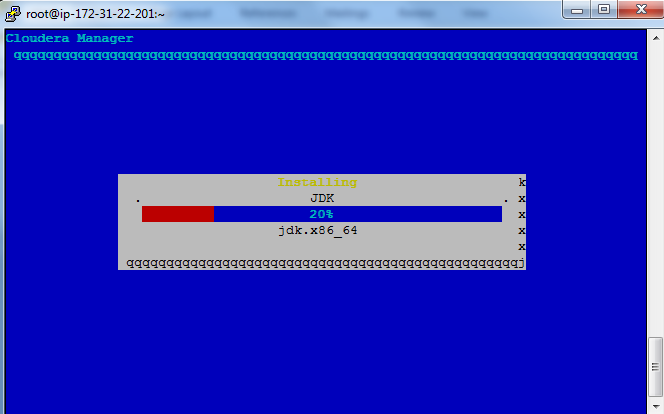
Execute the installer and follow the steps:
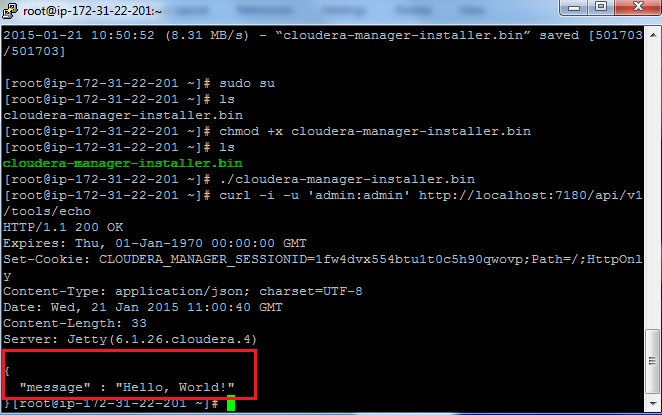
| $ sudo su $ chmod +x cloudera-manager-installer.bin $ ./cloudera-manager-installer.bin |

To verify Cloudera Manager installation:
| $ curl -i -u ‘admin:admin’ http://localhost:7180/api/v1/tools/echo |
If you see “Hello, World!” message, good going till now.
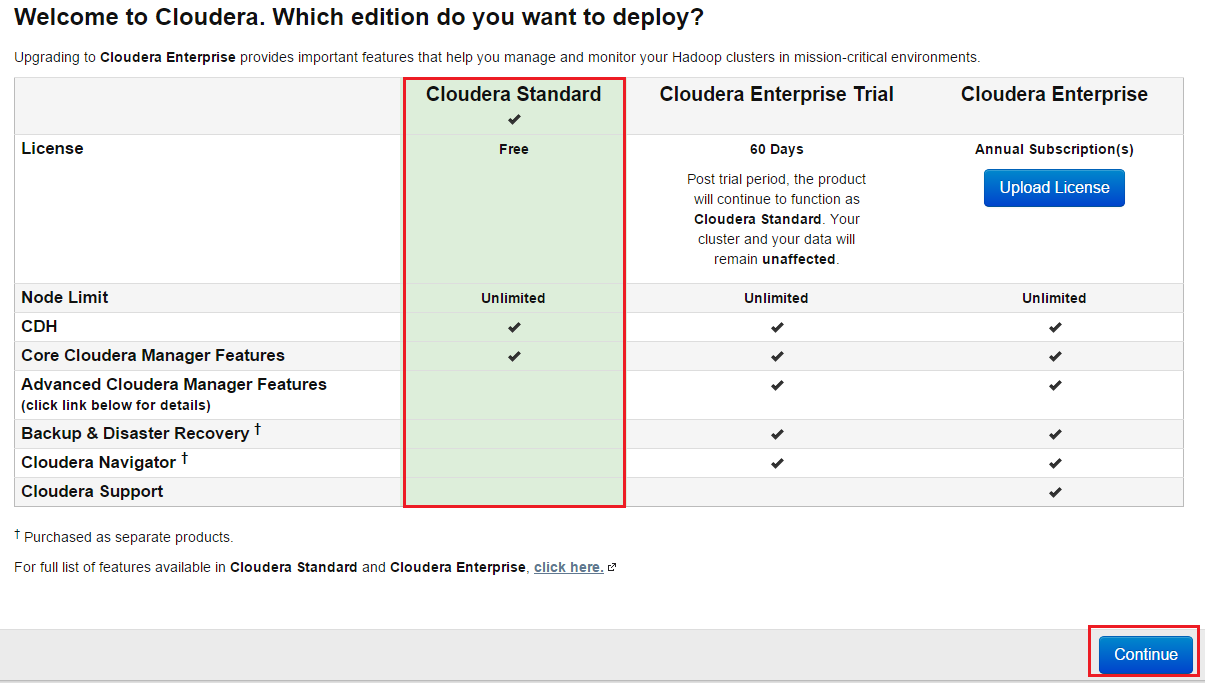
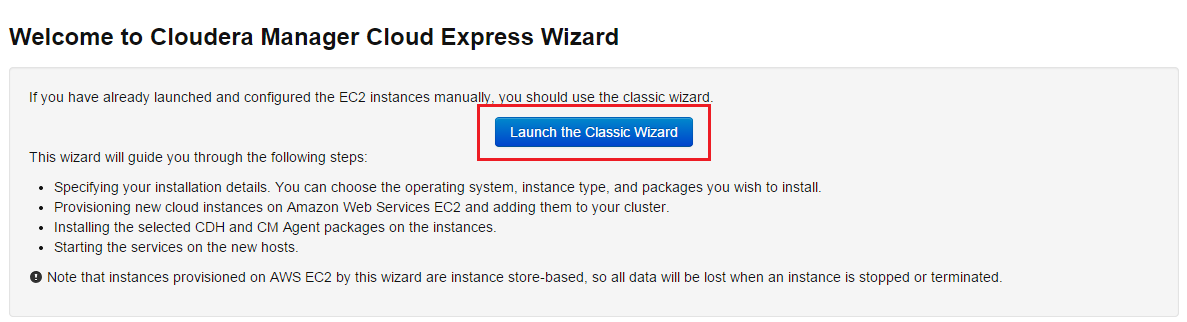
Use the Cloudera Manager installation wizard to install Cloudera Manager and CDH packages into the cluster
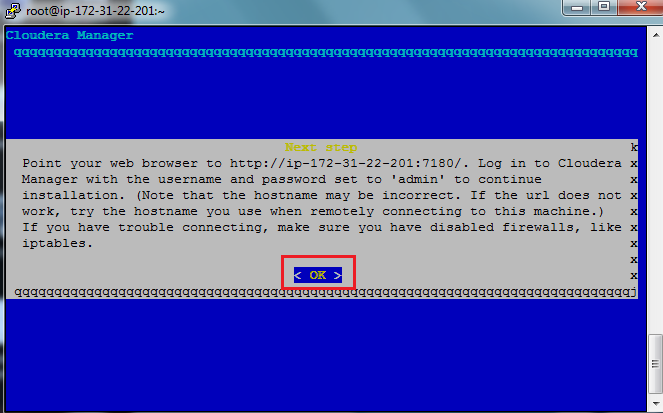
Now open browser and navigate to http://<public hostname>:7180 and log into the Cloudera Manager Admin console. The initial user name and password are admin

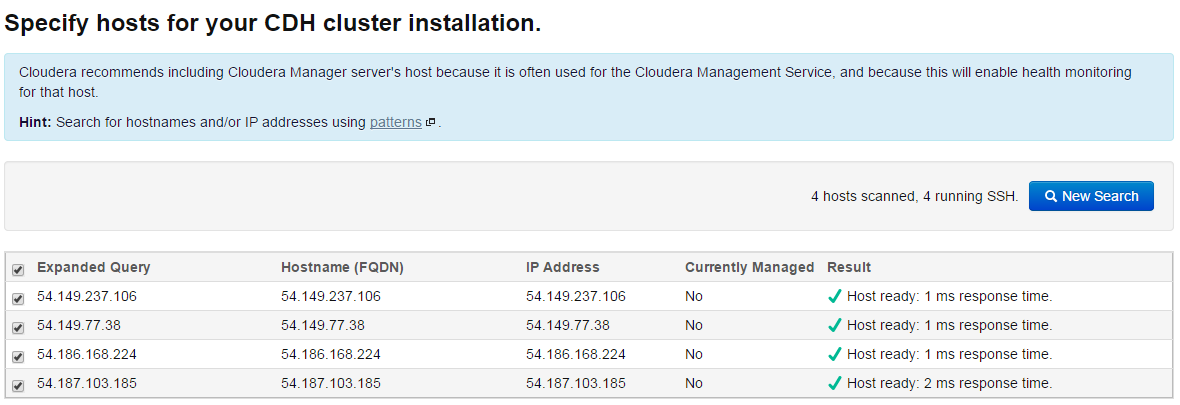
Provide all your instance <public dns> or <public ip> addresses in the cluster including Cloudera manager instance by comma separator and click “Search“. Select all the instances listed as a search result and click “Continue“.
Keep all selection as default.

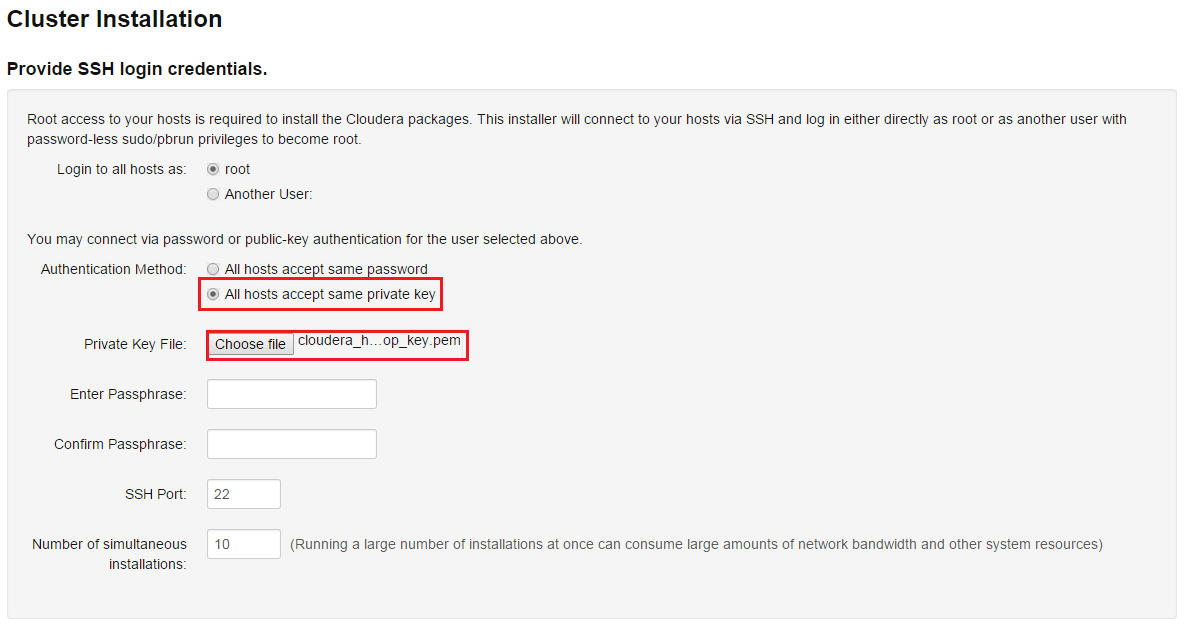
Brows the private key (cloudera_hadoop_key.pem) file which we have downloaded in the previous part. Keep Passphrase as blank
Wait for some time….
In the mean time if you want to see the Cloudera manager server log file, then use the command below:
| $ tail -f /var/log/cloudera-scm-server/cloudera-scm-server.log |

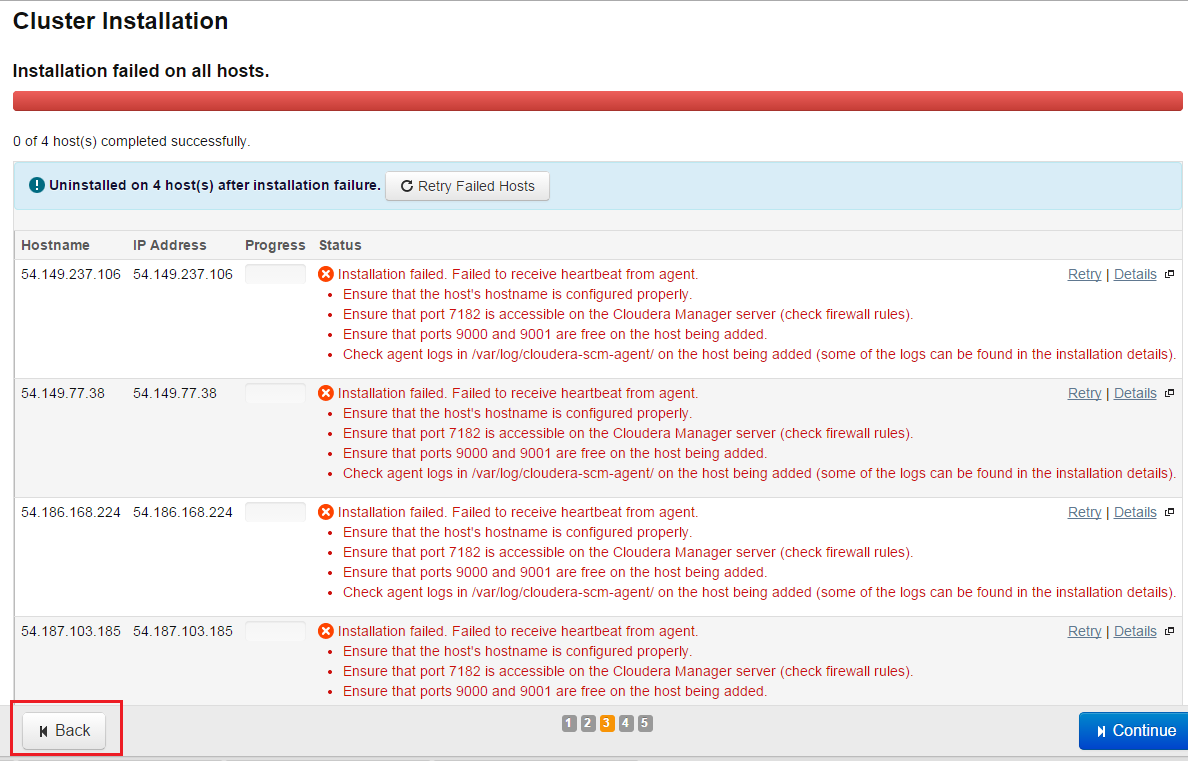
If you see the above error, DO NOT worry at all, it’s known issue. You can find the known issue list at Cloudera Issue List.
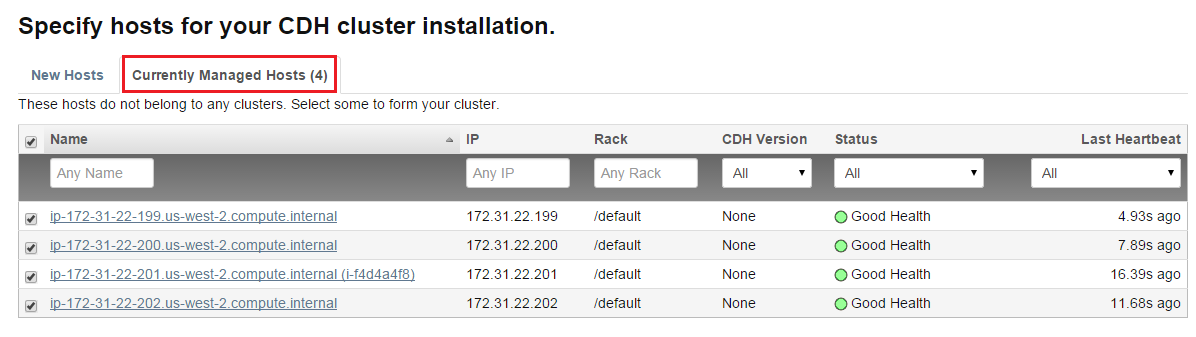
Click “Back” button until home screen then click “Continue” button. Now you will find a tab “Currently Managed Hosts” with their private dns and private ip address. Select all and click “Continue”
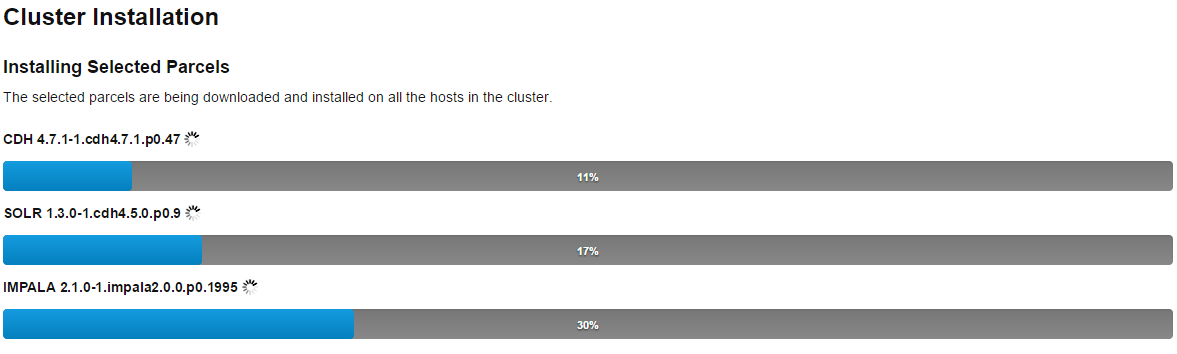
Wait for some time….

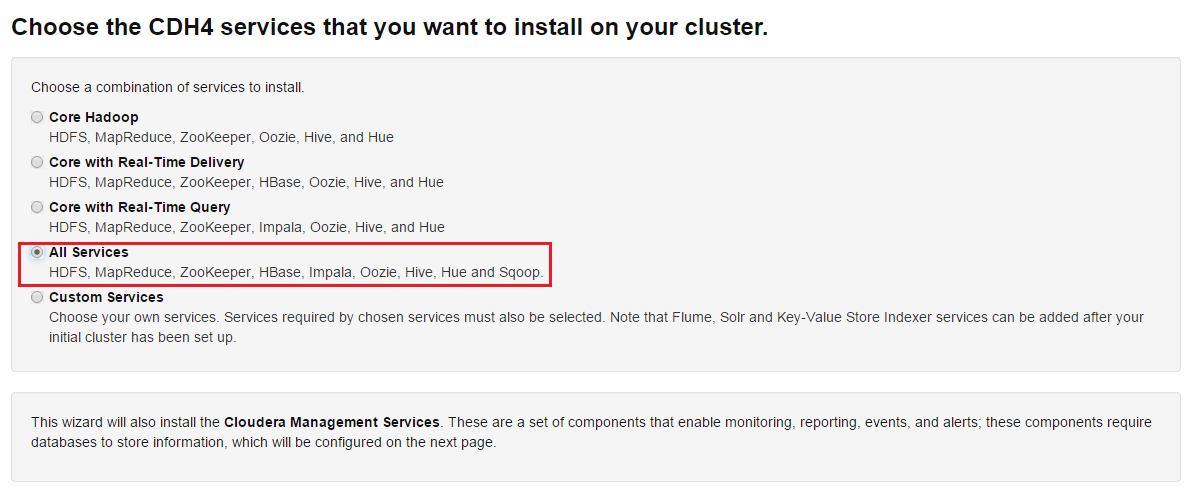
Select the services you want to install. I have selected “All Services”
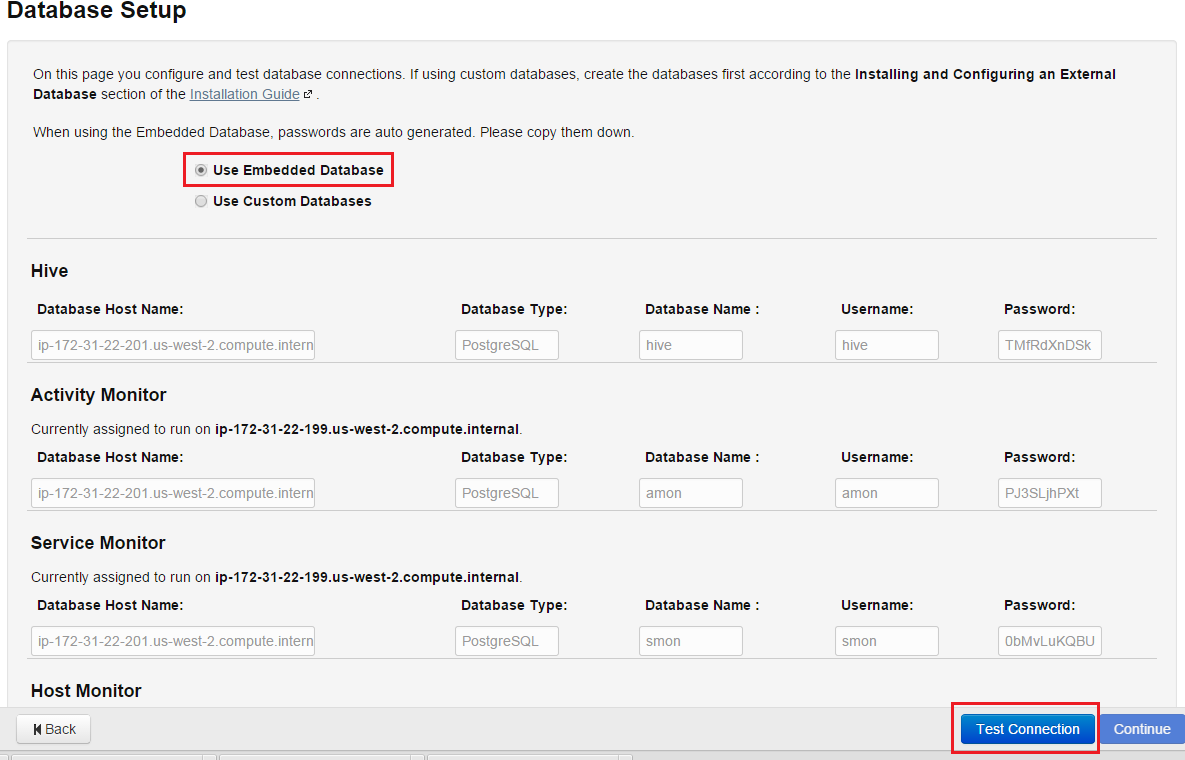
Choose “Use Embedded Database” and click “Test Connection”
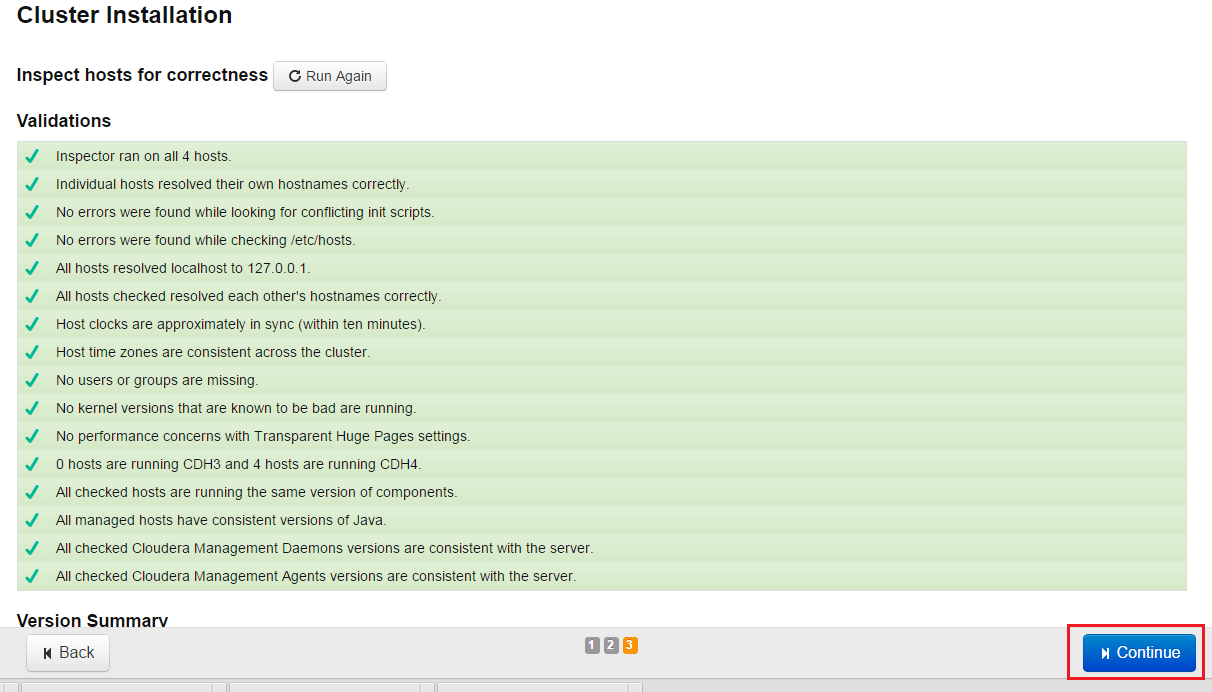
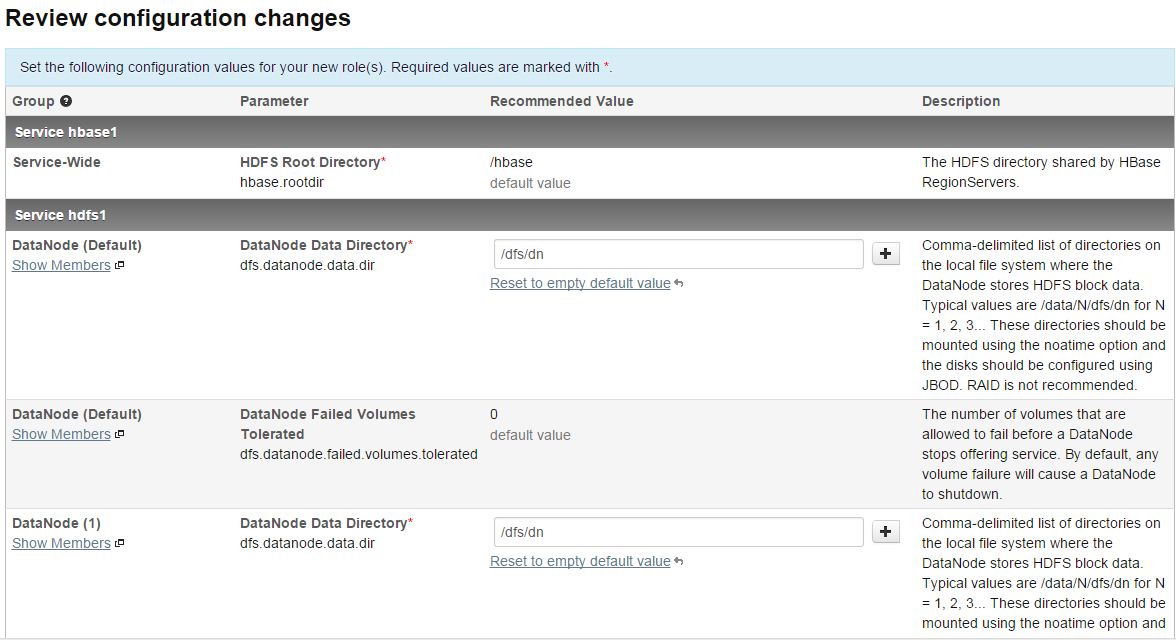
Keep all as default.
Wait for some time….

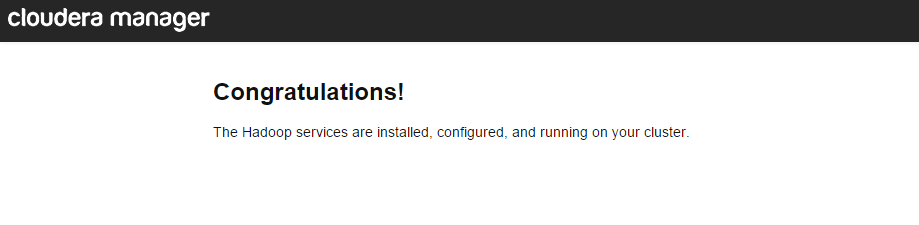
Hurray!!!!!! You are DONE.
Testing the Installation
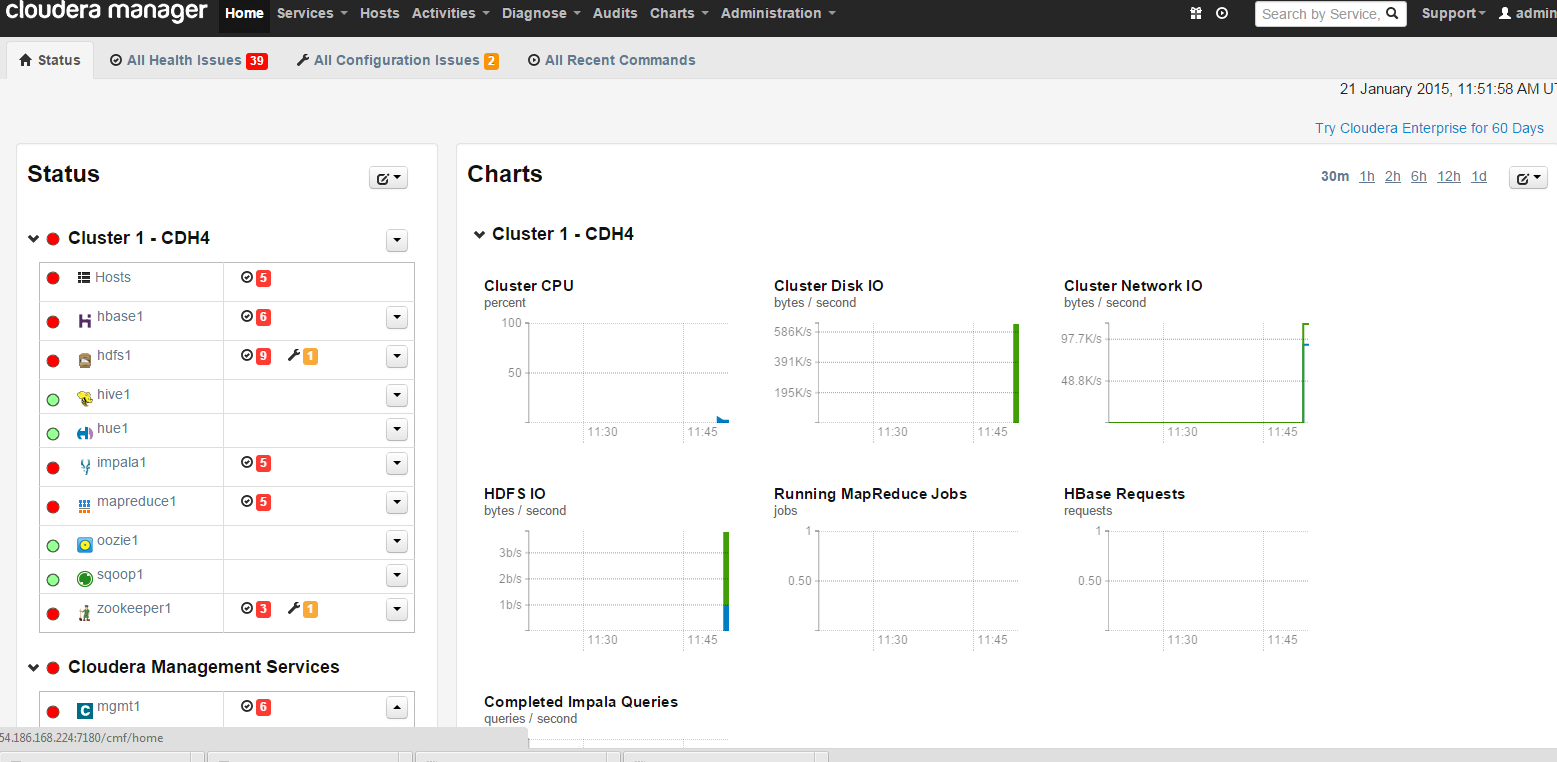
To begin testing, start the Cloudera Manager Admin Console [http://<public host>:7180]. Once you’ve logged in, the left side of the screen should look a little like this:
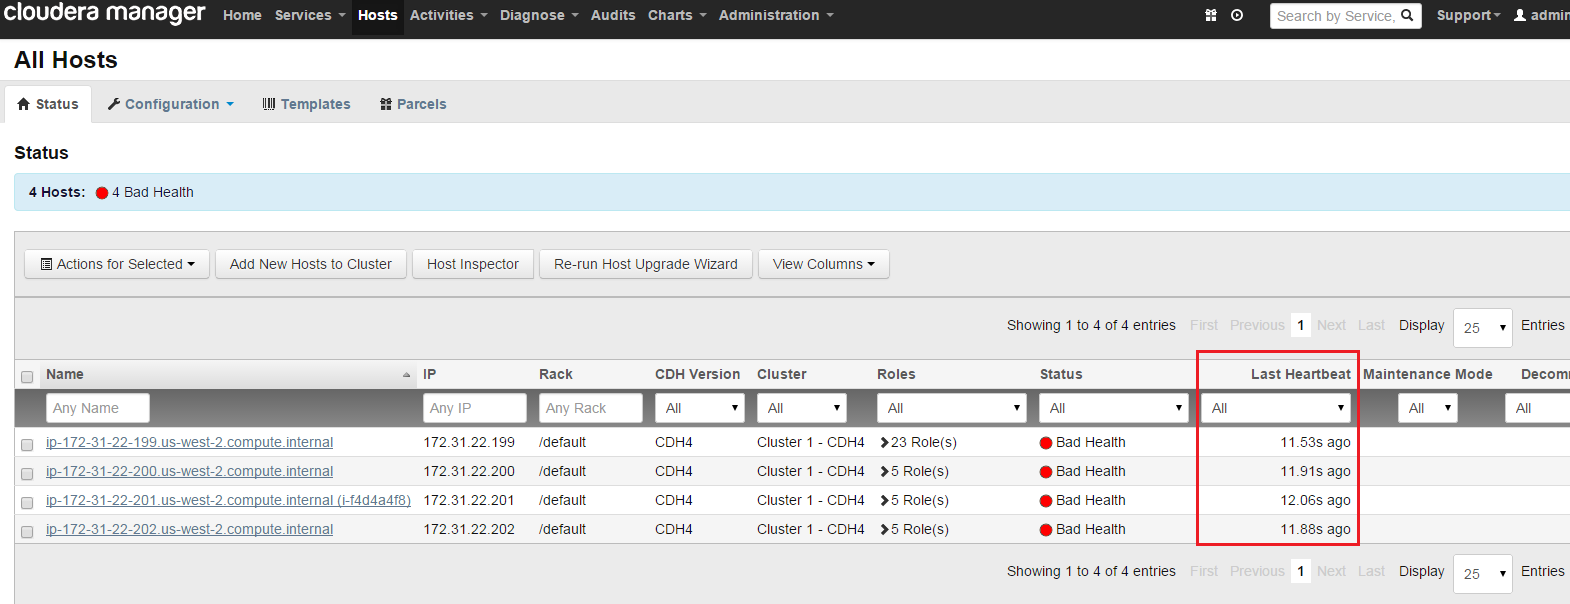
Checking Host Heartbeats
One way to check whether all the Agents (hosts) are running is to look at the time since their last Heartbeat. You can do this by clicking the Hosts tab where you can see a list of all the Hosts along with the value of their Last Heartbeat. By default, every Agent must heartbeat successfully every 15 seconds. A recent value for the Last Heartbeat means that the Server and Agents are communicating successfully.
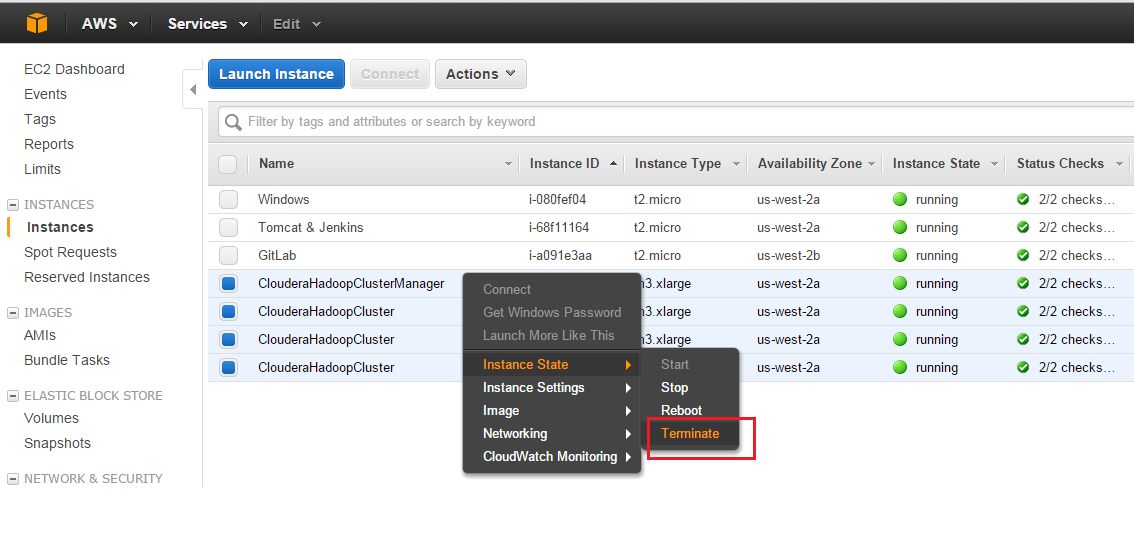
**DO NOT forget to terminate (Delete) all 4 EC2 instances which you have created in Part-1.
Select all 4 EC2 instances and right click, select Instance State > Terminate