Apache Ambari is an open source tool for deployment, monitoring and management of large Hadoop and HBase clusters. It provide easy to use wizard based web interface. Here I have provided step by step instructions to install Ambari 2.0.0 on CentOS6.
#CentOS does not come with default ‘wget’ installed
$ yum install wget
$ cd /etc/yum.repos.d/
$ wget http://public-repo-1.hortonworks.com/ambari/centos6/2.x/updates/2.0.0/ambari.repo
#install ambari server
$ yum install ambari-server
#Run the setup command to configure your Ambari Server, Database, JDK, LDAP, and other options:
$ ambari-server setup
# Start Ambari Server
$ ambari-server start
#check server port status
$ netstat -anp | grep 8080
#check server is running
$ ps -ef | grep ‘ambari-server’
#check ambari conf file – change port(client.api.port=<port_number>)
$ vi /etc/ambari-server/conf/ambari.properties
#check ambari server log
$ vi /var/log/ambari-server/ambari-server.out
#stop ambari server
$ ambari-server stop
Open up a web browser and go to http://ambari-server-host:8080
Log in with username admin and password admin and follow on-screen instructions.
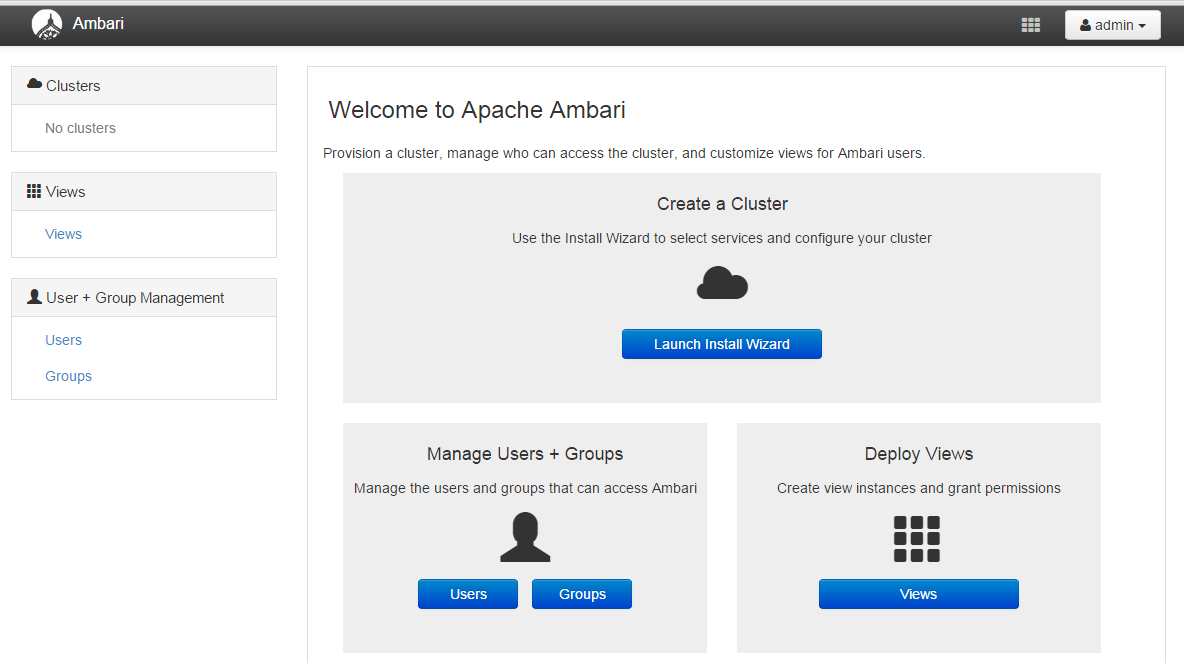
Now you landed up Ambari dashboard and ready to install Hadoop and HBase clusters with all Hadoop ecosystems with wizard based web interface without going into cluster setup complexities.
Note: Sometimes you may encounter problem with the port 8080 at firewall level. Check with your network administrator. For your testing purpose, disable firewall.
#disable the iptables firewall
$ service iptables save
$ service iptables stop
$ chkconfig iptables off
