To prepare to connect to a Linux instance from Windows using PuTTY
1. Download and install PuTTY and PuTTYgen from here.
2. Start PuTTYgen (from the Start menu, click All Programs > PuTTY > PuTTYgen)
3. Under Type of key to generate, select SSH-2 RSA.

4. Click Load. By default, PuTTYgen displays only files with the extension .ppk. To locate your .pem file, select the option to display files of all types.

5. Select the private key file that you created in the previous procedure and click Open. Click OK to dismiss the confirmation dialog box.
6. Click Save private key. PuTTYgen displays a warning about saving the key without a passphrase. Click Yes.
7. Specify the same name for the key that you used for the key pair. PuTTY automatically adds the .ppk file extension. PuTTY doesn’t use .pem files, it uses .ppk files.
Now connect to your Linux instance using PuTTY (Starting from HadoopNameNode)
1. Start PuTTY (from the Start menu, click All Programs > PuTTY > PuTTY).
2. In the Category pane, select Session and complete the following fields:
- In the Host Name box, enter user_name@public_dns_name or public_ip. Default user name for Ubuntu machine is “ubuntu”
- Under Connection type, select SSH.
- Ensure that Port is 22.

3. In the Category pane, expand Connection, expand SSH, and then select Auth. Complete the following:
- Click Browse.
- Select the .ppk file that you generated for your key pair, and then click Open.
- Click Opento start the PuTTY session.

Note: This step is repetitive which required for every PuTTY session you are opening. You can skip this repetitive task by adding the private-key into “PAGEANT” agent which comes with PuTTY bundle. Please follow the steps below:
Run the “PAGEANT” agent
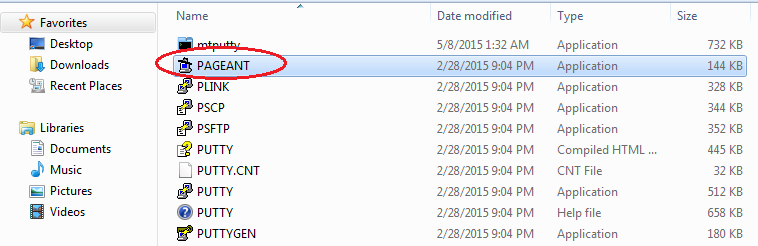
You can see a small icon appear on your task bar. Click on the icon

Click “Add Key” and brows your private key (.ppk file) then close. Do not stop your “PAGEANT” agent by right click on icon and select “Exit”

4. If this is the first time you have connected to this instance, PuTTY displays a security alert dialog box that asks whether you trust the host you are connecting to. Click Yes. A window opens and you are connected to your instance.

Note: Similarly connect to remaining 3 machines HadoopSecondaryNameNode, HadoopDataNode1, HadoopDataNode2 respectively to make sure you can connect successfully.
Setup FileZilla access to EC2 instances
In order to securely transfer files from your windows machine to Amazon EC2 FileZilla is a handy utility. Download
Open FileZilla and go to Edit > Settings…


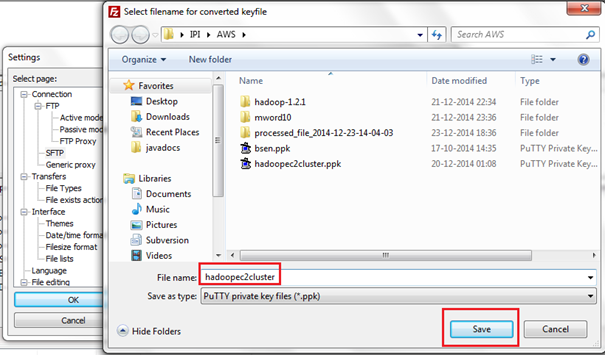
Browse to the location of your .pem file and select it.
A message box will appear asking your permission to convert the file into ppk format. Click “Yes”, then give the file a name and store it somewhere.
If the new file is shown in the list of Keyfiles, then continue to the next step. If not, then click “Add keyfile…” and select the converted file.

Open File > Site Manager…

Add a new site with the following parameters:
Host: Your public dns name of ec2 instance, or the public ip address of the serve
Protocol: SFTP
User: ubuntu

When it will ask for password, keep it blank and click “Ok”


Upon successful login you will see UNIX file system of a logged in user /home/ubuntu your Amazon EC2 Ubuntu machine home.
Upload the .pem file to master machine (HadoopNameNode). It will be used while connecting to slave nodes during hadoop startup daemons.
If you have made this far, good work! Things will start to get more interesting in Part-3

[…] Part 2 – This second part explain the setup up Windows client access to Amazon EC2 Instances. […]
LikeLike